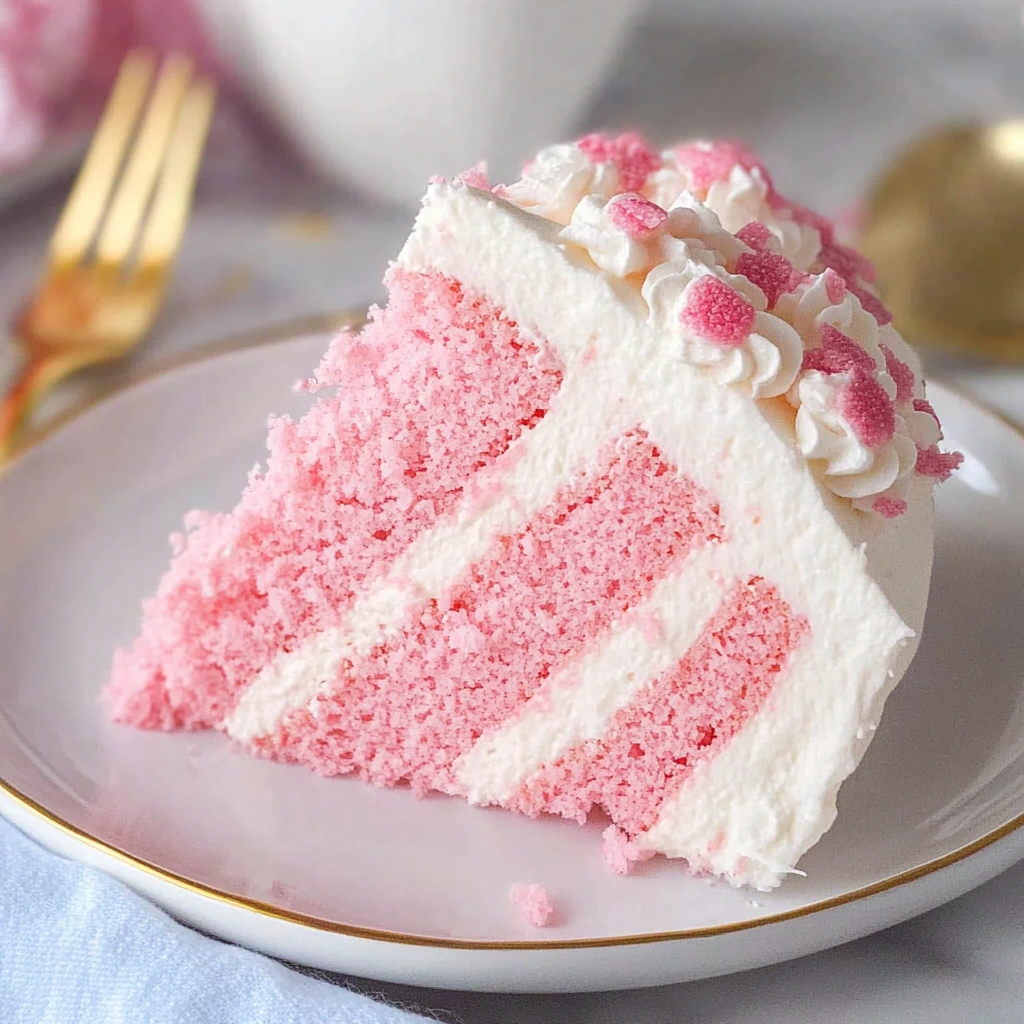
How to Bake a Soft and Fluffy Pink Cake (And Have Fun Doing It!)
Hey there! If you’re looking to make a pink cake that’s not only beautiful but also delicious, you’re in the right place. We’re going to walk through this step-by-step, like we’re chatting over coffee, so you feel confident making your cake from scratch. Plus, who doesn’t love a cake that makes a statement with its color? Whether you’re planning a birthday, baby shower, or just a fun baking project, this cake is bound to be a hit.
Let’s get into it!
Ingredients You’ll Need
Let’s keep things simple! Here’s a breakdown of what you need. Most of these items are probably already in your kitchen, so no fancy stuff.
For the Cake:
| Ingredient | Amount |
|---|---|
| All-purpose flour | 2 ½ cups |
| Baking powder | 2 tsp |
| Salt | ½ tsp |
| Butter (softened) | 1 cup |
| Granulated sugar | 1 ½ cups |
| Eggs | 4 large |
| Vanilla extract | 2 tsp |
| Buttermilk | 1 cup |
| Pink gel food coloring | As desired |
For the Cream Cheese Frosting:
| Ingredient | Amount |
|---|---|
| Cream cheese (softened) | 8 oz |
| Butter (softened) | ½ cup |
| Powdered sugar | 4 cups |
| Vanilla extract | 1 tsp |
| Pink gel food coloring | As desired |
Step-by-Step: Let’s Make This Pink Cake Together!
Step 1: Mix That Batter Like a Pro
Okay, first things first—preheat your oven to 350°F (175°C). While that’s heating up, grab two 9-inch round cake pans. You’ll want to grease them up with butter and a little flour to make sure nothing sticks. You know, no one likes wrestling with cake pans later.
Now, in one bowl, whisk together your flour, baking powder, and salt. In a separate bowl, beat together the sugar and butter until it’s light and fluffy. It should feel like you could spread it on toast—that fluffy!
Next, let’s bring in the eggs. Add them one at a time, making sure you beat well after each one. Trust me, this step helps get everything combined and keeps your cake soft and airy.
Now, slowly alternate between adding the dry flour mixture and the buttermilk into the butter-sugar-egg combo. You don’t have to be super precise here—just add some flour, mix, pour a little buttermilk, and mix again. Repeat until everything’s combined. Oh, and don’t forget the vanilla extract—it’s the secret to making your cake smell and taste amazing.
Step 2: Get That Pink Shade Right
Now, the fun part—let’s make this cake pink! Add your pink gel food coloring a few drops at a time. Start small and keep adding until you reach your perfect shade of pink. Remember, the color will be slightly lighter after baking, so make it just a little darker than your end goal.
Step 3: Time to Bake!
Once your batter is ready and perfectly pink, divide it between your two prepared cake pans. Smooth out the tops with a spatula—this helps your cakes bake evenly.
Pop those beauties into the oven and bake for about 25-30 minutes.
Pro Tip: Want to avoid overbaking? Check on your cakes at the 25-minute mark. They’ll firm up a little more as they cool, so if they’re slightly soft in the center, that’s okay.
Step 4: Let Them Cool (This Is Important!)
I get it, waiting is hard. But this step is key if you want to avoid a frosting disaster. Let your cakes rest in their pans for about 10 minutes to cool slightly, then carefully transfer them to a wire rack. You don’t want the frosting to melt all over the place, right?
If you’re in a rush, here’s a trick: Stick the cake layers the freezer for 10-15 minutes. It’ll firm them up quickly, making them easier to handle when frosting.
Step 5: Making That Creamy Frosting
Now, we can’t have an amazing cake without a killer frosting. So, let’s whip up some cream cheese frosting that pairs perfectly with the fluffy pink cake.
In a bowl, beat your butter and the cream cheesetogether until smooth. You want it to be creamy, with no lumps in sight. Slowly mix in the powdered sugar—one cup at a time. Don’t rush it; let the sugar incorporate fully. Finally, stir in the vanilla extract, and if you’re feeling extra festive, add a few drops of pink gel food coloring to match your cake.
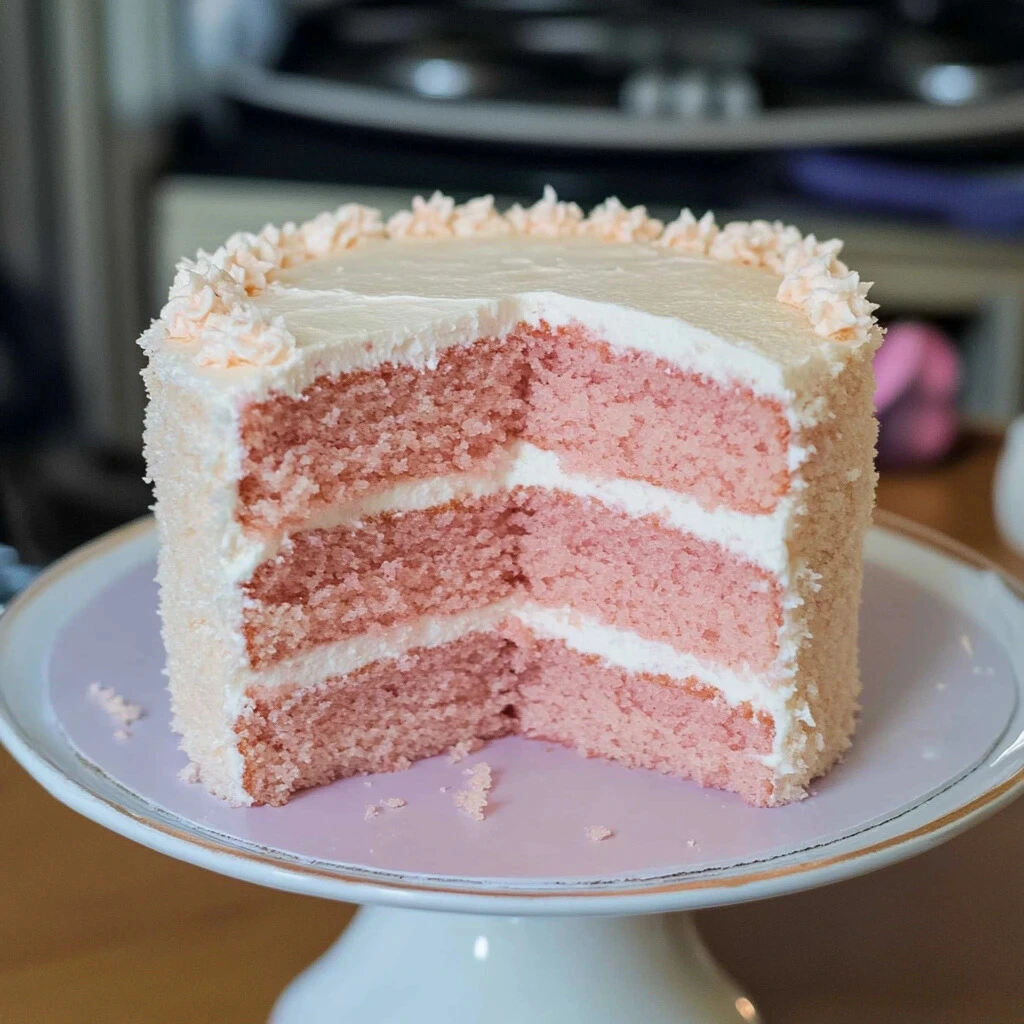
Step 6: The Grand Finale—Frosting and Decorating
Okay, you’ve made it this far, and now it’s time to frost and decorate!
- Start by gently placing one of your cake layers onto a plate or cake stand, ready for that delicious frosting.
- Smooth a generous layer of frosting across the top, making sure it’s nice and thick for every bite to be packed with flavor.
- Gently place the second cake layer on top and spread the frosting over the top and sides, smoothing it out as much as possible.
Want to take your cake to the next level? Sprinkle some pink sugar or edible glitter on top for that wow factor. You can also add fresh flowers or fun sprinkles to give it your personal touch.
Pro Tip: Try making an ombré effect with your frosting by adding more pink food coloring to different batches of the frosting and layering it from light to dark on the cake. It’s easier than it sounds and looks absolutely stunning!
Fun Variations to Try
If you’re feeling adventurous, here are some fun twists on this pink cake recipe:
Pink Velvet Cake:
Love the idea of velvet cakes? Turn this into a pink velvet cake by adding some cocoa powder to the batter. It’s still pink, but now with a hint of cocoa richness.
Pink Champagne Cake:
Feeling fancy? Swap the vanilla extract for champagne extract, and you’ve got yourself a sophisticated pink champagne cake. This is perfect for bridal showers, New Year’s celebrations, or any occasion where you want to feel a little extra.
Mexican Pink Cake:
Want a bit of spice? Add cinnamon to the batter for a Mexican-inspired pink cake. It’s a subtle touch, but it adds warmth and depth to the flavor.
Storing Your Cake
If you have leftovers (which honestly might not happen!), you can store the cake in an airtight container at room temperature for up to three days. Or, pop it in the fridge for up to five days. If you want to make the cake ahead of time, you can freeze the unfrosted layers for up to a month. Just thaw them out before frosting and serving.
FAQ: Your Pink Cake Questions Answered
Q: Can I make this cake gluten-free?
A: Absolutely! Use a gluten-free baking blend. Follow the instructions on the flour blend package, and you’ll have a delicious gluten-free version.
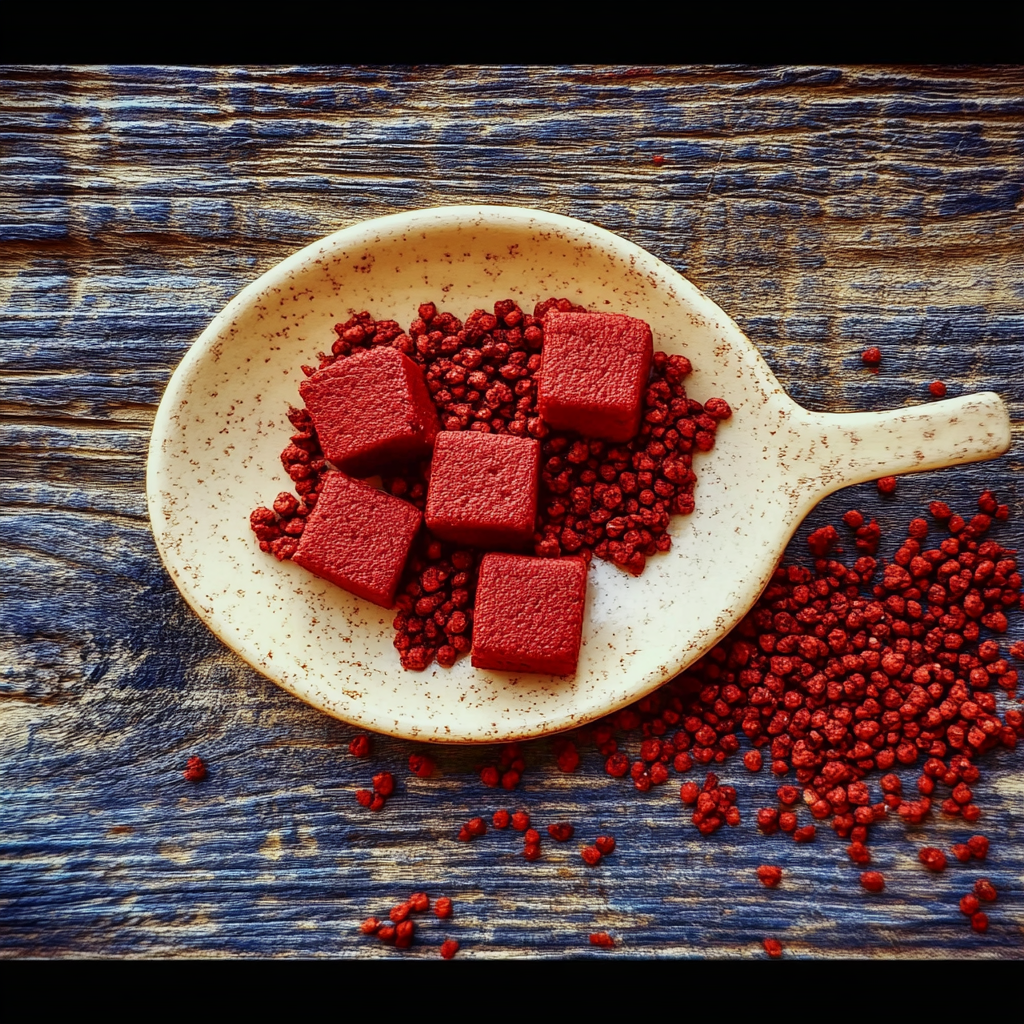
Q: How do I get a natural pink color without food coloring?
A: If you’re not a fan of food coloring, try using natural options like beetroot powder or freeze-dried strawberries. They give a lovely pink hue without artificial coloring.
Q: Can I make this Pink Cake ahead of time?
A: Absolutely! the cake layers can be made a day or two in advance. Just tightly wrap them in plastic wrap then store them at room temperature or freeze them. Frost the cake on the day you plan to serve it for the freshest taste.
Wrapping It Up
There you have it—our fun and easy pink cake recipe that’s perfect for any celebration. Whether you’re going for the classic version, adding a velvet twist, or making it fancy with champagne, this cake is bound to be a hit. Plus, it’s so much fun to bake and decorate!
Before you go, don’t forget to check out our Little Debbie Christmas Tree Cakes recipe if you’re in the mood for more festive baking inspiration.
Now go ahead, grab your mixing bowl, and let’s get baking! 🎂