Little Debbie Christmas Tree Cakes: A Fun & Festive Homemade Recipe
The holidays are just around the corner, and there’s no better way to get into the festive spirit than with the beloved Little Debbie Christmas Tree Cakes. These iconic snack cakes are a favorite for many, evoking warm memories of holiday gatherings and winter nights. Now, imagine making them at home, from scratch! You’ll not only recreate the flavors but also add a personal touch that makes them even more special.
In this guide, we’ll walk you through how to make your very own Little Debbie Christmas Tree Cakes with ease. From shaping the cake to perfecting that signature icing, you’ll be able to bring this delightful treat to your holiday table. Plus, we’ll share some pro tips, recipe variations, and fun ways to make them uniquely yours.
What Makes Little Debbie Christmas Tree Cakes Special?
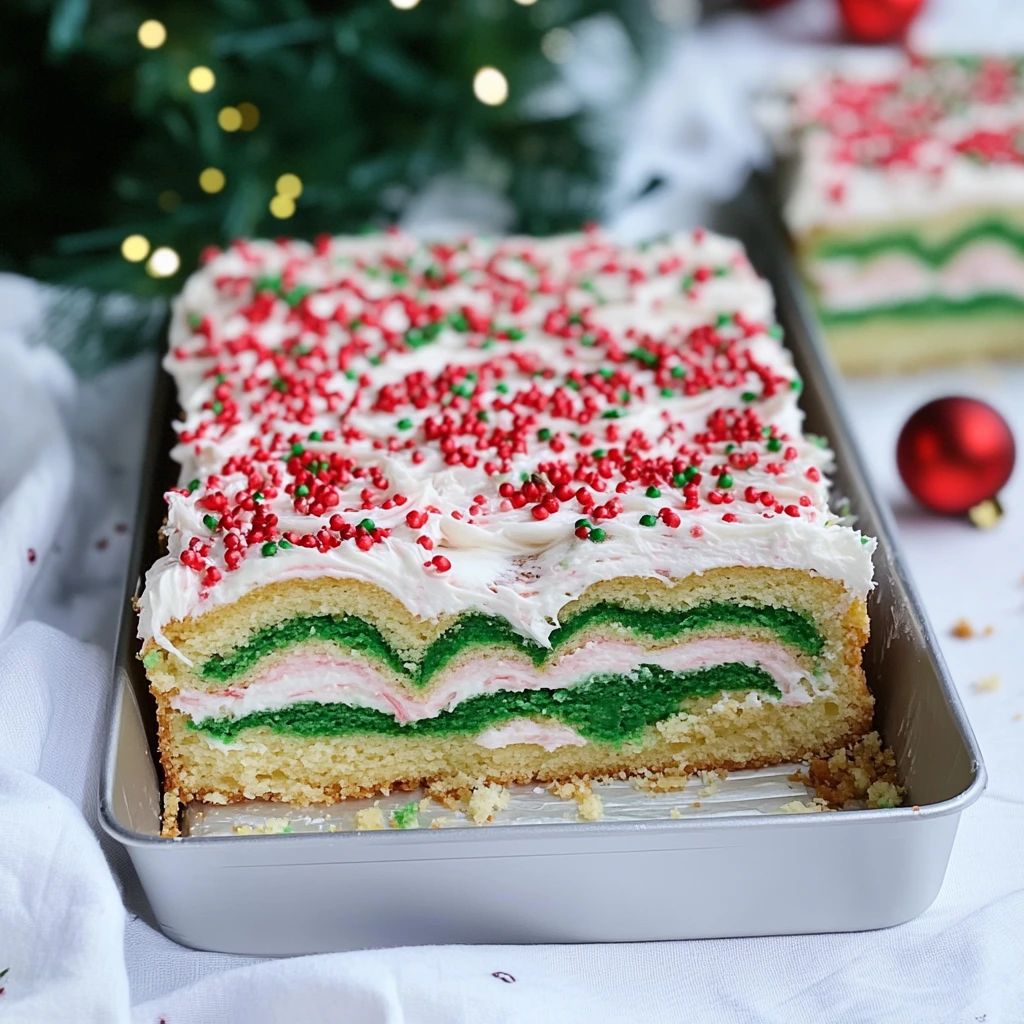
Little Debbie’s Christmas Tree Cakes are known for their vanilla-flavored cake, coated with a layer of white icing and topped with festive red and green decorations. But what really sets them apart is the nostalgia they bring. They’re more than just a treat—they’re a holiday tradition for many families.
Whether you love them for their soft texture, the sweetness of the icing, or the playful Christmas tree shape, these cakes are a must-have during the festive season.
Ingredients You’ll Need
Before diving into the recipe, let’s gather all the ingredients for the cake and icing.
| Ingredient | Amount |
|---|---|
| White cake mix | 1 box |
| Eggs | 4 large |
| Vegetable oil | 1/3 cup |
| Water | 1 cup |
| Red gel food coloring | 1 teaspoon |
| Green gel food coloring | 1 teaspoon |
| White chocolate chips | 1 cup |
| Powdered sugar | 3 cups |
| Butter (unsalted, softened) | 1 cup (2 sticks) |
| Vanilla extract | 2 teaspoons |
| Heavy cream | 1/4 cup |
| Festive sprinkles (red & green) | To taste |
Step-by-Step Instructions: How to Make Little Debbie Christmas Tree Cakes
Prepare the Cake Batter
Start by setting your oven to 350°F (170°C). While it’s heating up, grease a 9×13-inch baking sheet or line it with parchment paper—this will make it easy to lift the cake out later. In bowl, mix together the white cake mix, eggs, vegetable oil, and water until you have a smooth, lump-free batter. Feel free to get creative here—add a some vanilla or almond extract if you want to give your Christmas tree cakes an extra flavor boost. Once your batter is ready, pour it into the prepared baking sheet, spread it evenly, and pop it in the oven. Bake for 20-25 minutes, or until a toothpick comes out clean from the center. Let the cake cool before cutting it into fun Christmas tree shapes.
Shaping the Cakes
To get the iconic Christmas tree shape, you can either use a Christmas tree-shaped cookie cutter or cut them out freehand with a knife. If you don’t have a tree cutter, feel free to get creative with other festive shapes—stars, bells, or snowflakes work just as well!
Once your cake is completely cooled, carefully cut out as many tree shapes as possible. For neat edges, make sure your knife or cutter is clean and sharp.
Making the White Chocolate Icing
Next, let’s make that signature white icing! In a microwave-safe bowl, melt the white chocolate chips in 20-second increments, stirring between each interval to prevent overheating. Once melted, set aside.
In a separate bowl, whip the butter and powdered sugar together until it becomes light, airy, and fluffy. Slowly pour in the vanilla and heavy cream, mixing until everything comes together smoothly. Then, drizzle in the melted white chocolate and keep mixing until it’s fully blended into the mixture. This icing should be thick but spreadable. If it’s too stiff, you can add a little more cream.
Icing and Decorating
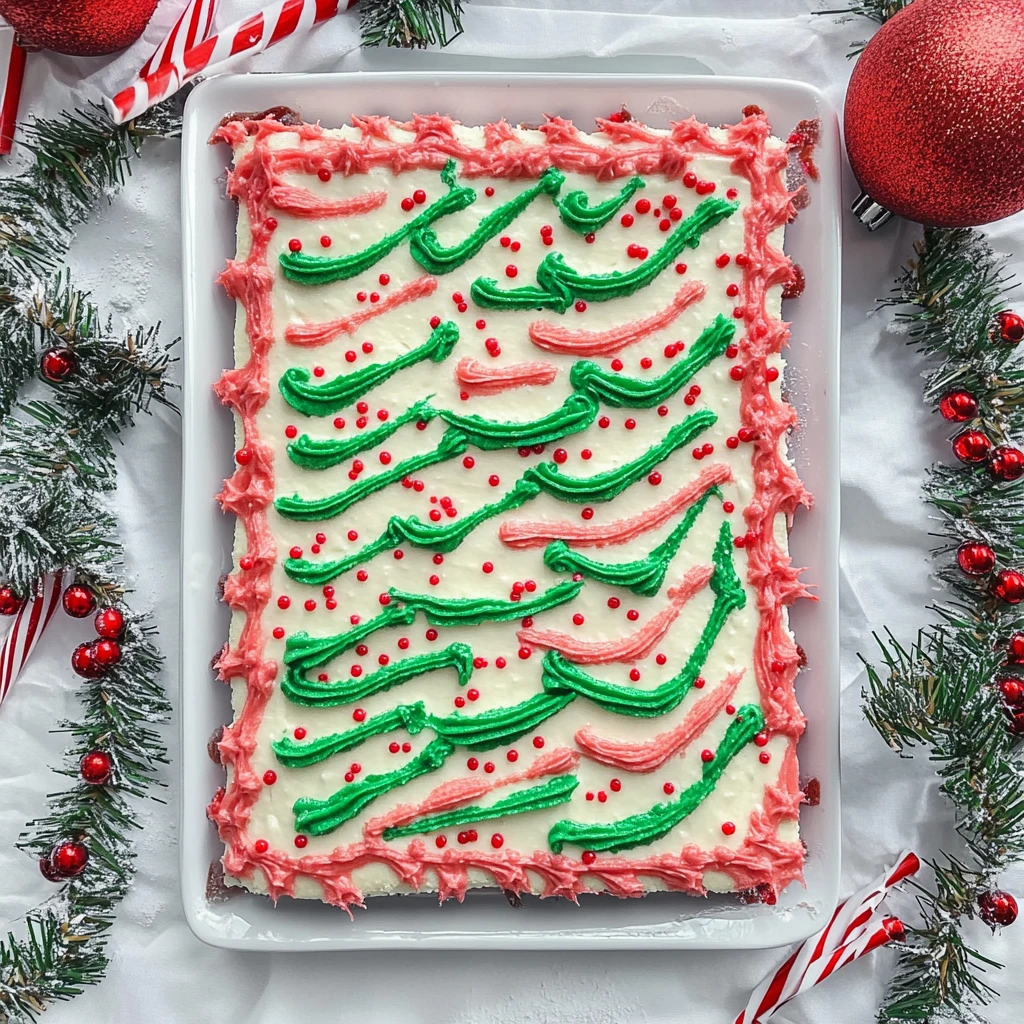
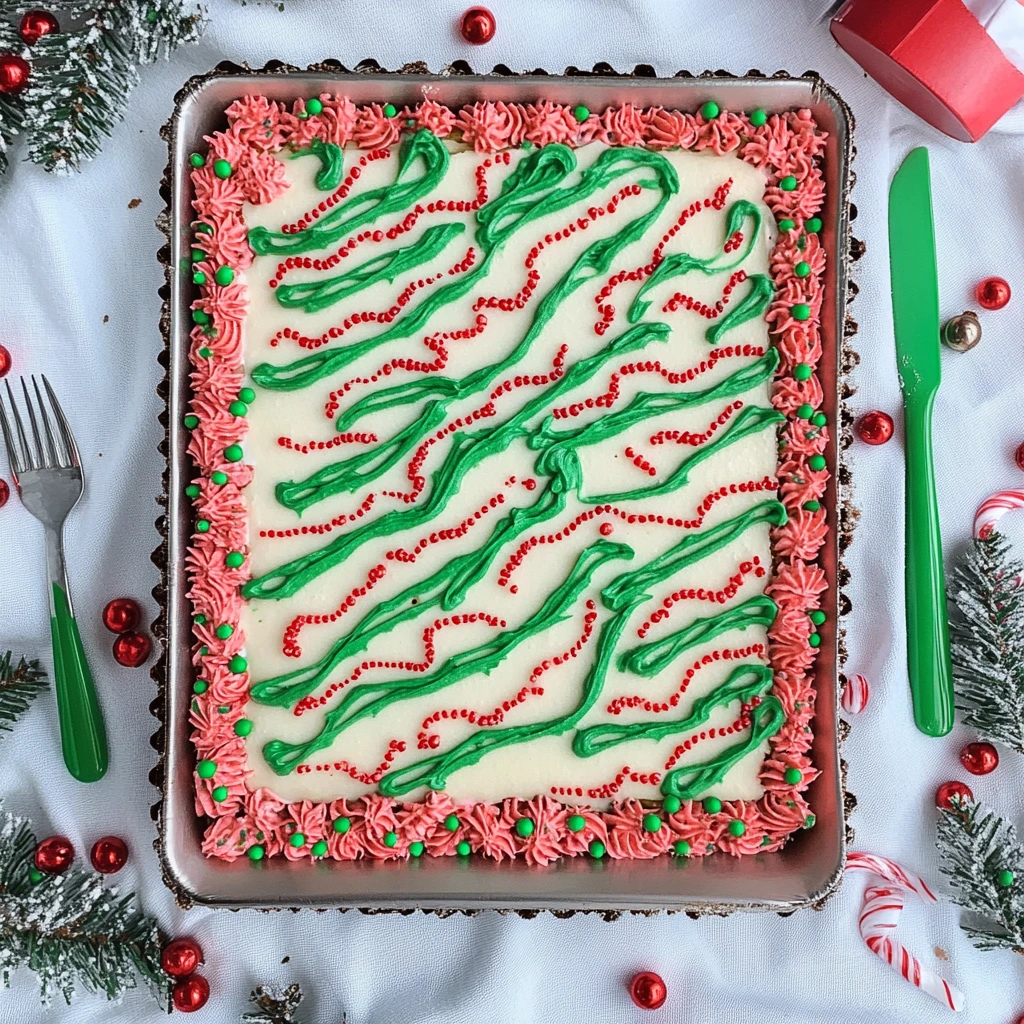
Now for the fun part! Using an offset spatula, generously spread the white icing over each Christmas tree cake. Be sure to cover the tops and sides of each cake for that classic Little Debbie look.
To get the signature red and green stripes, divide the remaining icing into two bowls. Mix the green gel food coloring into one batch and red into the other, stirring until you get those bold, vibrant colors. Then, spoon each colored icing into a piping bag with a small round tip. Carefully pipe red and green stripes across the cakes, and finish by sprinkling some festive red and green sprinkles on top for a perfect holiday touch.
For extra flair, you could even add edible glitter or sugar pearls. Don’t be afraid to get creative with your decorations!
Pro Tips for the Best Little Debbie Christmas Tree Cakes
- Use a Freezer for Easier Shaping: Once your cake has cooled, stick it in the freezer for about 15 minutes. This quick chill will firm up the cake, making it much easier to cut clean, neat shapes.
- Make Ahead of Time: These cakes store well in the freezer! You can make them up to a week in advance. Simply freeze the undecorated cakes, then thaw and decorate them the day you plan to serve them.
- Go Gluten-Free: If you’ve got guests who need to avoid gluten, no worries—you can easily swap the regular cake mix for a gluten-free version, and it’ll still turn out delicious.
Variations of Little Debbie Christmas Tree Cakes
While the classic vanilla flavor is beloved by many, why not try out some fun variations? Here are a few ideas to switch things up:
- Chocolate Christmas Tree Cakes: Use a chocolate cake mix instead of vanilla for a rich, decadent version.
- Red Velvet Christmas Tree Cakes: Add red food coloring and cocoa powder to the batter to make red velvet trees.
- Christmas Tree Cake Pops: After cutting the cakes into tree shapes, place each on a lollipop stick for a portable, party-friendly treat.
How to Store and Serve Your Homemade Christmas Tree Cakes
These cakes will stay fresh for up to three days if you store them in an airtight container at room temperature. If you’d like to make them ahead of time, freeze them in a single layer on a baking sheet before transferring them to a freezer-safe bag. They can be frozen for up to one month. Just make sure to let them thaw for an hour before serving!
When it comes to serving, these cakes are best enjoyed with a warm beverage like hot cocoa or a refreshing holiday drink. Want something a little more playful? Pair your Christmas Tree Cakes with a fun dessert like Cookie Monster Ice Cream for a delightful treat that everyone will love!
Frequently Asked Questions (FAQ)
Q: Can I freeze Little Debbie Christmas Tree Cakes?
A: Yes! These cakes freeze beautifully. Wrap them in plastic wrap and keep them in an airtight container. When ready to eat, allow them to thaw at room temperature for about an hour.
Q: Can I use different shapes?
A: Absolutely! While Christmas trees are classic, feel free to get creative with other festive shapes like stars, bells, or snowflakes. The process is the same, and they’ll still taste delicious.
Q: Can I make these cakes without white chocolate?
A: If you prefer, you can substitute white chocolate with a simple vanilla buttercream icing.
Conclusion
Making Little Debbie Christmas Tree Cakes at home is not only fun, but it also allows you to add your personal touch to this nostalgic holiday treat. Whether you stick to the classic recipe or try one of our fun variations, these cakes are sure to be a hit at any holiday gathering.
So why wait? Get started on your festive baking today and share the joy of homemade Christmas treats with your friends and family. And if you’re in the mood for another fun and creative dessert, don’t forget to check out our recipe for Cookie Monster Ice Cream—a playful and delicious treat perfect for any occasion!