How to Make Cloud Slime: A DIY Recipe for Maximum Fun!
Hey there, friend! Today, we’re making something that’s not only fun but a total hit with kids and adults alike—Cloud Slime. If you’ve never made cloud slime before, get ready for an incredible experience that’ll bring out your inner child. The best part? You only need a few simple ingredients, and I promise it’s super easy.
I get it, slime can sound a bit messy, but trust me—it’s worth it. There’s something so soothing about the texture of cloud slime, and it’s just the perfect craft activity to spend quality time with your little ones or to unwind after a busy day. Let’s do this together!
What is Cloud Slime, Anyway?
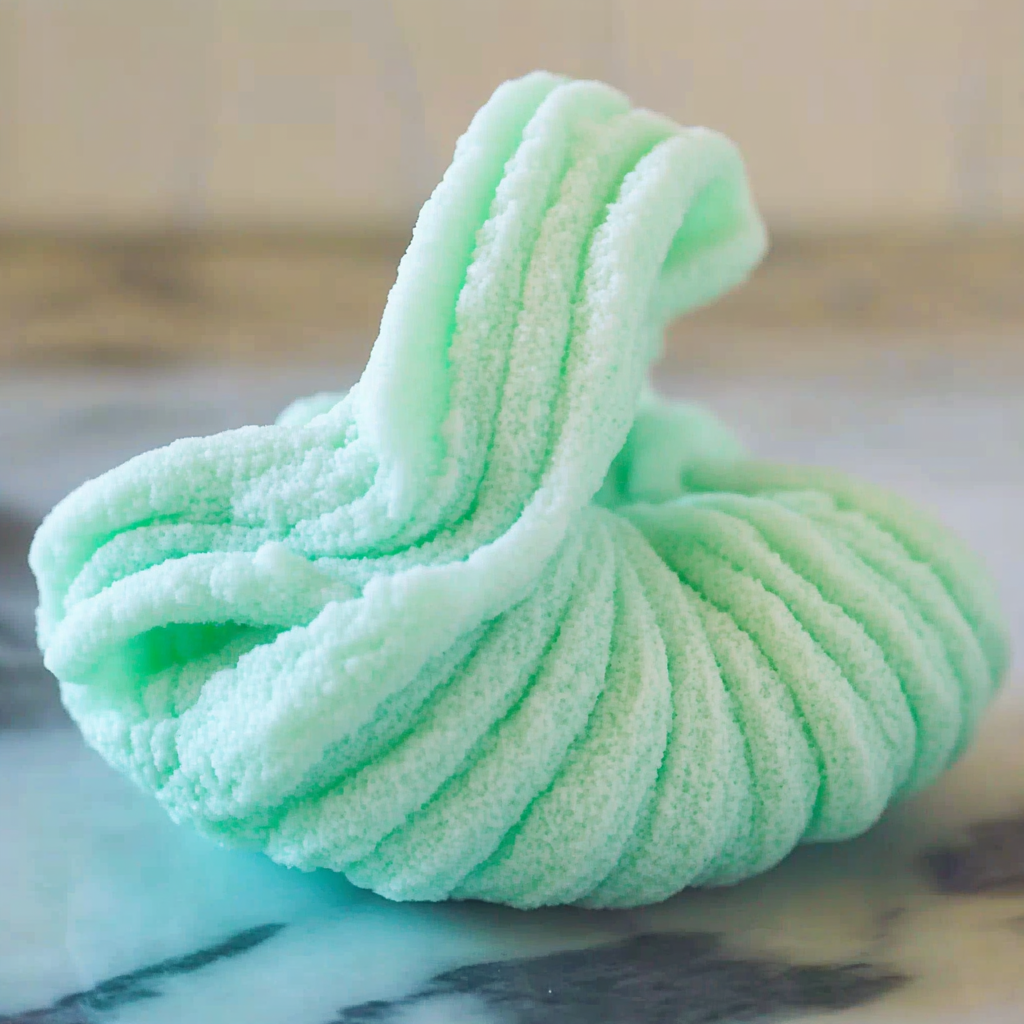
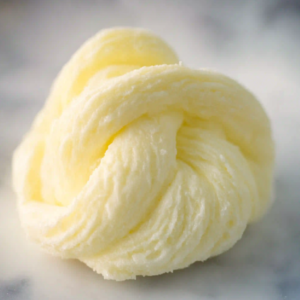
If you’re new to the world of slime, cloud slime is a type of slime that feels just like fluffy clouds. It’s soft, stretchy, and has a unique, pillowy texture thanks to one special ingredient—instant snow! It’s not sticky like traditional slimes, which makes it a little less intimidating (and messy) for those first-timers out there.
Why We Love Making Cloud Slime
We make cloud slime for so many reasons—it’s not just about the texture, though that is a massive part of it. Here are some of the reasons we love it:
- Sensory Experience: The soft, cloud-like texture is incredibly relaxing. It’s kind of like squeezing a stress ball but way more fun!
- Creative Outlet: You can add different colours, scents, or even glitter, making it an innovative and ever-changing activity. Each time we make it, we add something new.
- Great Bonding Activity: Whether you’re making it with kids, friends, or on your own, it’s a great way to spend time doing something hands-on.
Let’s Talk Ingredients
The good news is you don’t need anything fancy for this cloud slime recipe. Here’s what you need:
- White School Glue: We’re using essential PVA glue, the kind you’d find at any craft store or supermarket.
- Water: Just regular water from your tap.
- Instant Snow Powder: This is the magic ingredient that gives cloud slime its unique, fluffy texture. You can find it online or at most craft stores.
- Shaving Cream: This adds some extra volume and fluffiness, giving that light, airy feel.
- Borax Solution or Slime Activator: To make the slime, we’ll need to activate it. You can use a store-bought slime activator or just mix some borax with water.
- Food Coloring (optional): We like to make our slime colourful—it just adds to the fun.
- Scented Oils or Extracts (optional): Want it to smell amazing? You can add a drop or two of vanilla extract or essential oil.
How to Make Cloud Slime Step-by-Step
Grab your ingredients, and let’s get started!
Mix the Glue and Water
First, we need to mix our white glue with some water. Use a large mixing bowl and combine equal parts glue and water. For most batches, ½ cup of glue and ½ cup of water is just right. Stir it all up until it’s well combined.
Add the Shaving Cream
Next up, add in some shaving cream. We’re not measuring it too precisely here—it’s all about how fluffy you want your cloud slime. About one cup should be enough to start but feel free to add more for extra fluffiness. Give it all a good mix until the shaving cream, glue, and water are all blended nicely.
Add Color and Scent (Optional)
This is where the magic happens—adding colours or scents. Pick any food colouring you like (we love bright blues or pinks for that cloud effect). Just a few drops are enough, and make sure to stir it in well. If you want your slime to have a lovely smell, add a couple of drops of scented oil or vanilla extract now.
Activate the Slime
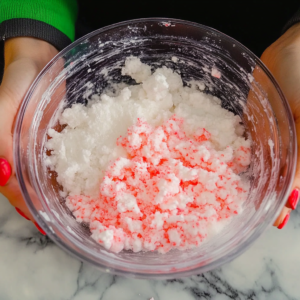
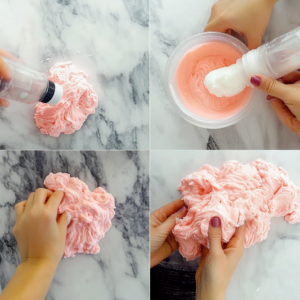
Now it’s time to make it slimy! Take your borax solution or slime activator and add it slowly to your glue mixture. A little goes a long way here. Add a tablespoon at a time and keep stirring the mixture until it begins to separate from the edges of the bowl. It should start getting sticky, but don’t worry—that’s what we want.
Once it comes together, you can ditch the spoon and start kneading it by hand. It should feel stretchy but not stick to your fingers too much.
Add the Instant Snow
Here’s where the cloud part comes in. In a separate bowl, prepare your instant snow according to the package instructions. Usually, it’s just a little water and the powder mixed until it puffs up. Once you have your instant snow ready, start folding it into the slime mixture.
This is the fun part! Keep adding the snow until your slime starts to take on that fluffy, cloud-like texture. You might need to add more or less snow, depending on your preference, but you’ll know you’ve got it right when it feels super soft and fluffy.
Knead, Knead, Knead!
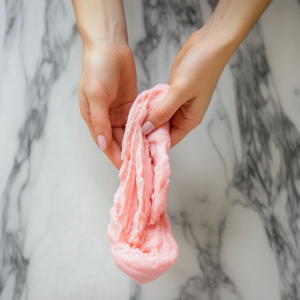
The key to perfect cloud slime is kneading. It might take a few minutes, but keep working it in your hands until the texture feels right. The more you knead, the better it gets, trust me. You’ll start to see the slime stretch and drizzle, which is precisely what we want.
Common Slime Issues
Hey, slime can be a little tricky sometimes, but don’t worry—we’ve got your back.
- Slime Too Sticky? Add a little more activator, but do it gradually. A few drops can make a big difference.
- Slime Too Hard? If your slime feels tough or rubbery, you’ve probably used too much activator. Add a bit more glue or a few drops of water to soften it up.
- Cloud Effect Not Working? The key here is instant snow—make sure you’ve used enough. Keep adding a bit more until you get that fluffy drizzle effect.
Fun Additions and Variations
Cloud slime is already pretty amazing on its own, but why not take it up a notch? Here are some fun ideas for customizing your slime:
- Glitter: Add a little sparkle to your slime by mixing in some glitter.
- Scented Slime: We mentioned it before, but adding a scent can make the experience even better. Try lavender for a calming effect or citrus for something fresh.
- Mixing Colors: Make two different colours of cloud slime and mix them together for an excellent tie-dye effect.
Safety Tips for Making Slime
I know that making slime is fun, but it’s also essential to stay safe:
- Adult Supervision: If you’re doing this with kids, be sure to supervise. Some of the ingredients, like borax, can be irritating if misused.
- Wash Hands: Always wash your hands before and after making slime, especially since we’re using household chemicals.
Why Cloud Slime is the Best DIY Activity
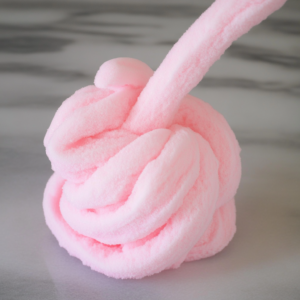
If you’re anything like us, you probably love a good DIY activity that’s both creative and relaxing. Cloud slime is perfect because it’s easy to make, enjoyable to play with, and offers a unique sensory experience that’s great for stress relief.
It’s also a great way to spend quality time with the family. I mean, there’s nothing like seeing a child’s face light up when they make something themselves—and honestly, I get pretty excited, too, every time I make it! Plus, the cleanup isn’t bad, and we all know that’s a big win.
How to Store Your Cloud Slime
To keep your cloud slime in tip-top shape, store it in an airtight container. This will help it stay soft and stretchy for longer. If it begins to become dry, you have the option to include a few drops of water and knead it until it’s soft again. We’ve kept slime for weeks by just keeping it sealed up!
Final Thoughts
Cloud slime is not just a fun DIY craft for kids—it’s a perfect addition to birthday parties or playdates! Its fluffy texture and customizable colors make it an exciting activity for everyone. Pair it with our Vintage Heart Cake Recipe to create an unforgettable birthday experience, combining hands-on fun with delicious treats. Let’s keep crafting, baking, and celebrating together! 🎉🎂🎈
Happy slime-making, my friend!

